How to deploy your Chatbot in Java for free (3 Minutes)

The BotFather in Telegram In this short tutorial, I will show you how to keep your Chatbot in Java online for 0,00$/month with your Raspberry Pi 2 or 3. This one is for all beautiful Telegram addicts. You can find the JAVA force on Telegram . If you are a chatbot enthusiast like me, you will want your Chatbot online, but the services are sometimes too expensive or not worth it. So I have the solution to the problem. Choosing to use the incredible Power of the web server with Raspberry Pi 2 or 3. If you have trouble with the beginning here is my first blog about Raspberry as a web server. How to make Raspberry Pi 3 your web server . Requirements: Raspberry Pi 2 or 3 with Linux distributed Operation System SSH active VNC Viewer on your remote device (optional) pUTTY (optional) Your chatbot project as ready .jar build file in it. Positive Energy and creepy smile on your face!(Because way not, we are Rockstars!) First, we will connect our VNC Viewer with...

How to make Raspberry Pi 3 your web server for Beginners (2 Minutes)


Here are the reasons why you can be here:

    • You have a Raspberry Pi, and you don't know what do with it, how to begin to work with it.
    • You want a free web server; this is the right place to be. I will show how to make a web server on you Raspberry Pi 2 or 3 for a little amount of time.
    Either way, you are awesome human being!! Thank you for visiting.
 
    What we want to do is LAMP (Linux, Apache, MySQL, PHP)

Requirements:

  • Raspberry Pi 2 or 3
  • Debian Distribution as Operation System (Raspbian (all the versions are cool) )
  • LAN connection
  • pUTTY and active SSH
  • Your beautiful smile
We will connect with our Raspberry remotely
  1. I suggest you open pUTTY (link) and write the IP-Address
  2. Insert your root password, and now you are in the Terminal from you Raspberry as the root user. So that is a start.
Congrats, you are in your Raspberry with your device.
Write the commands in the Terminal in pUTTY.
Command to check for system updates and upgrades:
    sudo apt-get update
    sudo apt-get upgrade

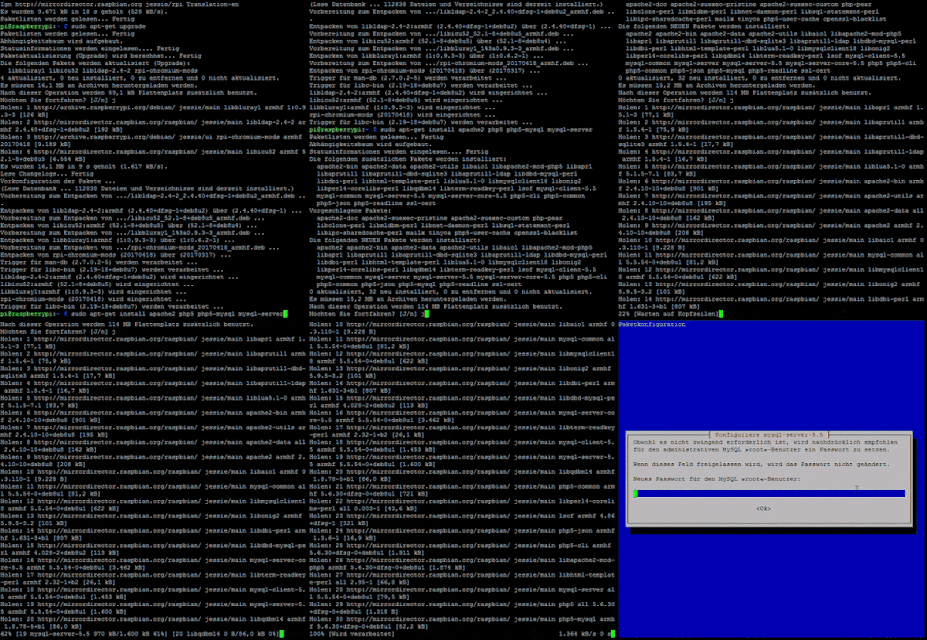
Command to install Apache & PHP & MySQL:
    sudo apt-get install apache2 php5 php5-mysql mysql-server

First, we will check if MySQL is installed correctly with the command:
    mysql -u root -p
If yes you exit it with
    exit


That was my quick How-To if you have issues feel free to write them in the comments. I will be happy to help you and learn from you.
Next, comes Ngrok and how we can reach our localhost from outside our LAN.
Sources:
Thank you!

See you next time! Stay awesome, botzillas!  ♥

Comments

Post a Comment